CLI Reference
CLI Reference
deploy
sui deploy
Options
| Option | Description | Default |
|---|---|---|
--dir | The directory of your static files | "dist" |
--functions | The directory of the functions to deploy as endpoints | "functions" |
--prod | Custom Domains only: false will deploy a preview | false |
Note: The
--dirdirectory should be only static files. You may need to run a build step prior to deploying
Examples
- Deploy a preview of static website in a
builddirectory with no functions
sui deploy --dir="build"
...
Website Url: https://xxxxx.cloudfront.net
- Deploy a preview of static website with serverless functions
sui deploy --dir="build" --functions="lambdas"
...
Website Url: https://xxxxx.cloudfront.net
API Url: https://xxxxx.cloudfront.net/api/my-function-name
API Url: https://xxxxx.cloudfront.net/api/my-other-function-name
- Production deploy
Note: A custom domain must be configured for production deploys. See configure-domain
sui deploy --prod --dir="build" --functions="lambdas"
...
Website Url: https://www.my-domain.com
API Url: https://www.my-domain.com/api/my-function-name
API Url: https://www.my-domain.com/api/my-other-function-name
configure-domain
This step only needs to be completed once, but it may take anywhere from 20 minutes - 48 hours to fully propogate
sui configure-domain [--domain]
Options
| Option | Description | Default |
|---|---|---|
--domain | Your custom domain | None |
Examples
Deploy a Hosted Zone and Certificate to us-east-1 (required region for Cloudfront)
sui configure-domain --domain="serverlessui.app"
Additional Steps
A minute or two after running this command, the deploy will “hang” while trying to validate the domain prior to creating the wildcard certificate.
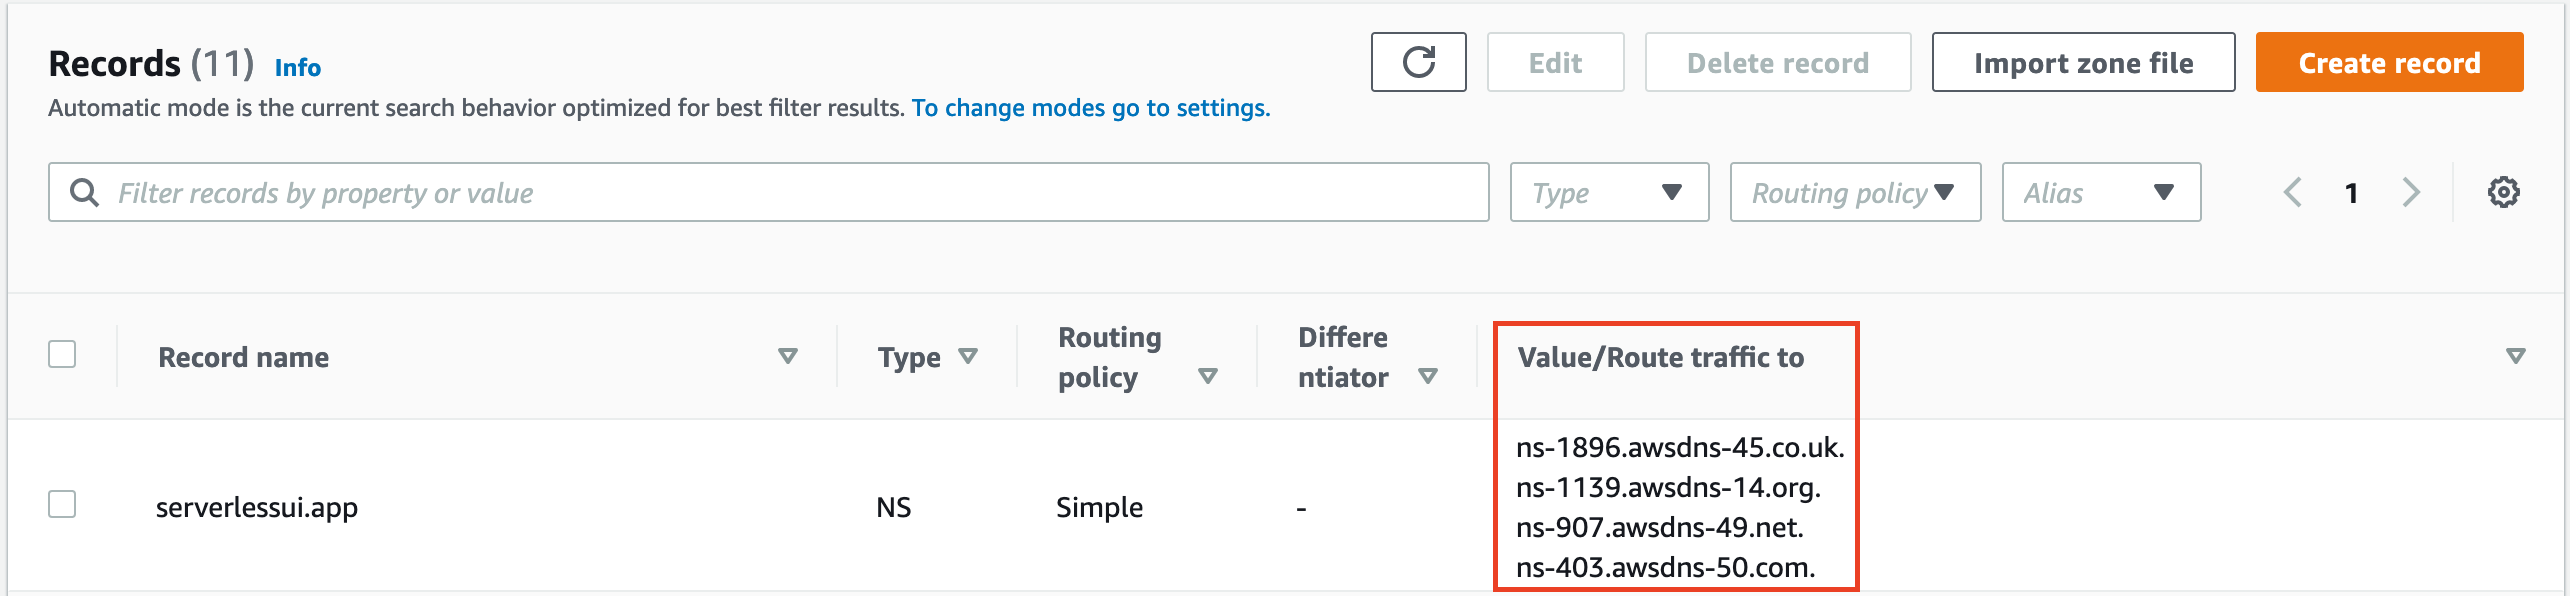
Navigate to Route53
Find your Hosted Zone and take note of the Zone Id and Name Servers
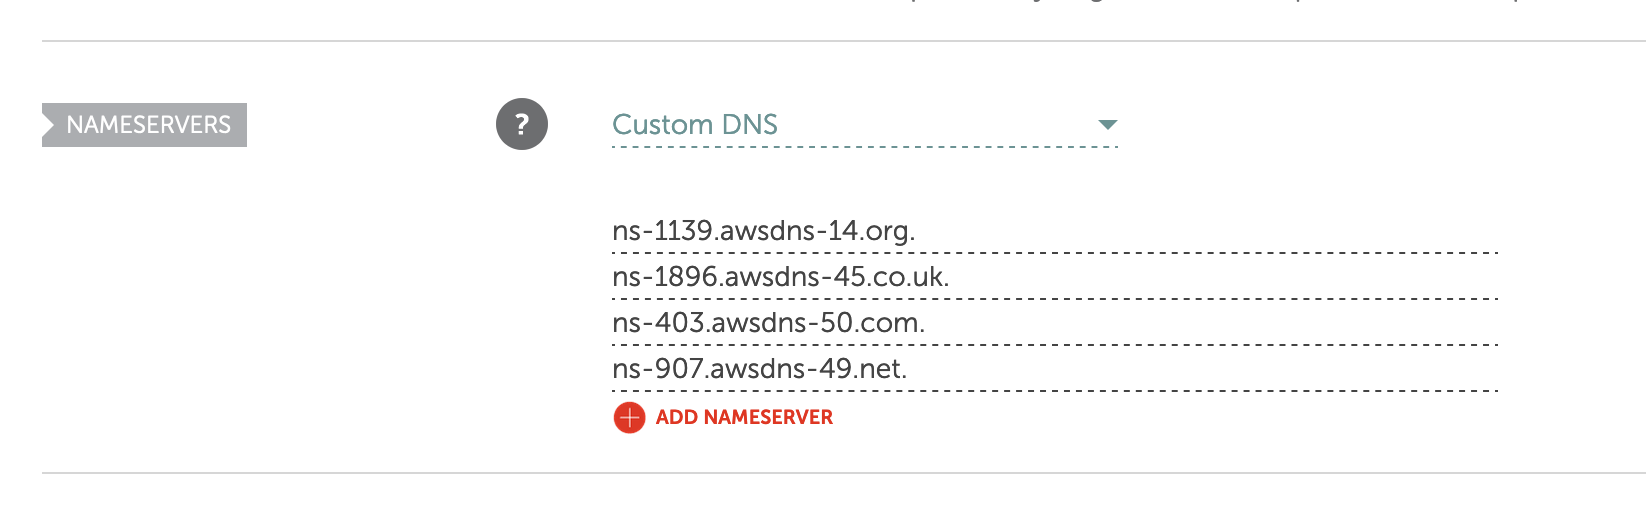
Update the Nameservers on your Domain Registrar website (eg. Namecheap)
Wait
The DNS resolution can be as quick as 10 minutes or take up to 48 hours. After some time, the Serverless UI command may timeout, but running it again should pick up where it left off.
Navigate to Certificate Manager
After the
configure-domaincommand has completed successfully, navigate to Certificate Manager and take note of the Certificate Arn (eg. “arn:aws:acm:us-east-1:ACCOUNT_ID:certificate/xxxxxx-xxxx-xxxx-xxxx-xxxxxxxxxx”)Create a Serverless UI config file
Place the config file in the root of your project
serverlessui.config.js
module.exports = {
  domain: "serverlessui.app",
  zoneId: "Z10011111YYYYGGGRRR",
  certificateArn:
    "arn:aws:acm:us-east-1:ACCOUNT_ID:certificate/xxxxxx-xxxx-xxxx-xxxx-xxxxxxxxxx",
};